Using Jump Box in your competition
This article gives information to the participant on how to access Jump Box for a competition.
Using the Jump Box feature offers a secure and controlled environment for competition activities without the need to use your local machine. Follow these steps to access and utilize the Jump Box effectively.
Accessing the Jump Box
When you enter a competition that has Jump Box enabled, you will see a Start Jump Box button on top of the challenges page in the competition.
Click the Start Jump Box button to start the process of connecting to the Jump Box.
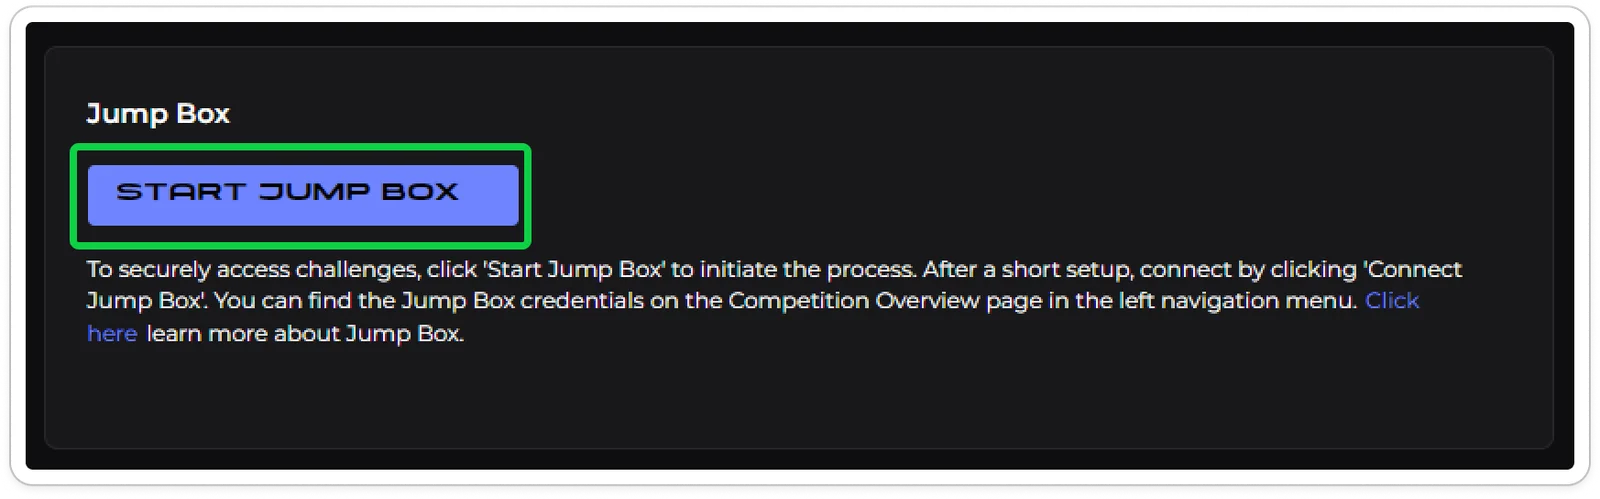
The connection process may take a few minutes, during which you'll see a loading indicator. Once the connection process is complete, the "Start Jump Box" button will change into a "Connect to Jump Box" button. To establish a connection to the Jump Box, click the "Connect to Jump Box" button [1].
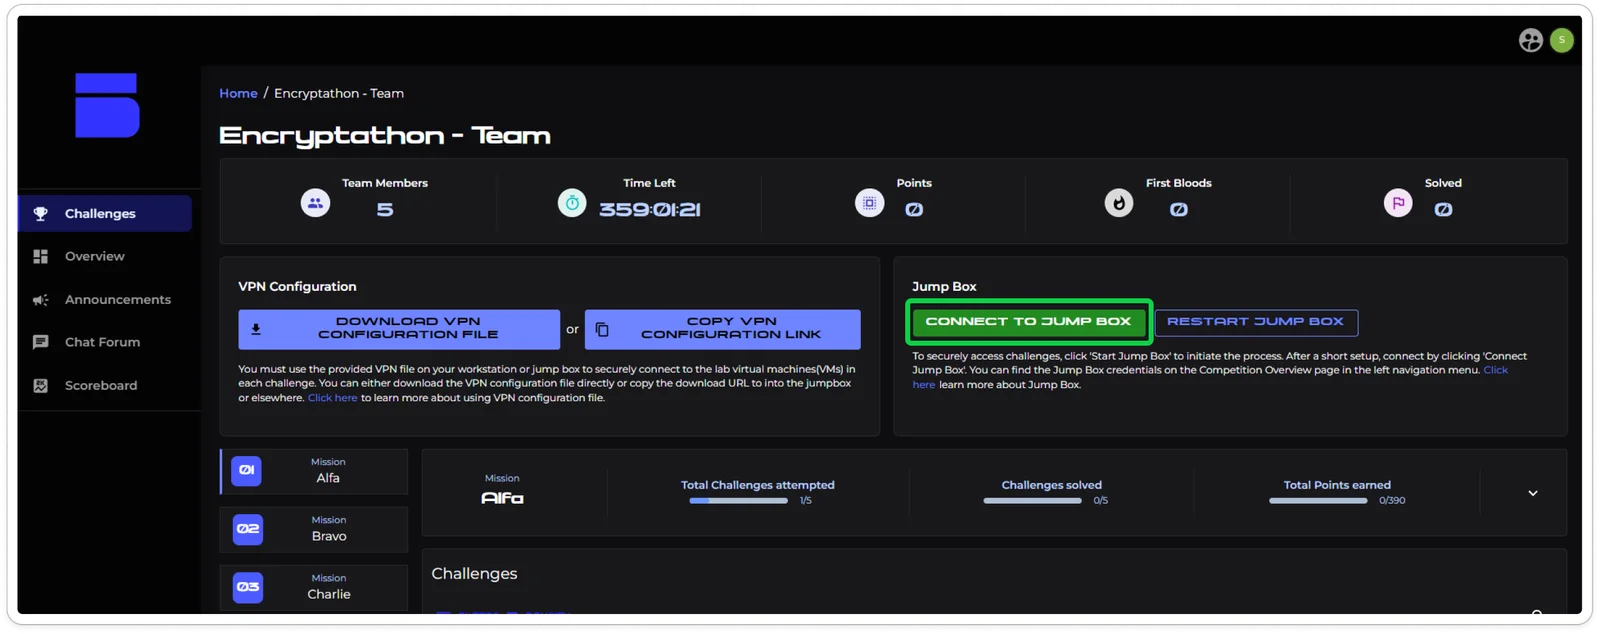
After clicking the "Connect to Jump Box" button, you'll be granted access to the Jump Box's virtual machine (VM) in another browser tab.
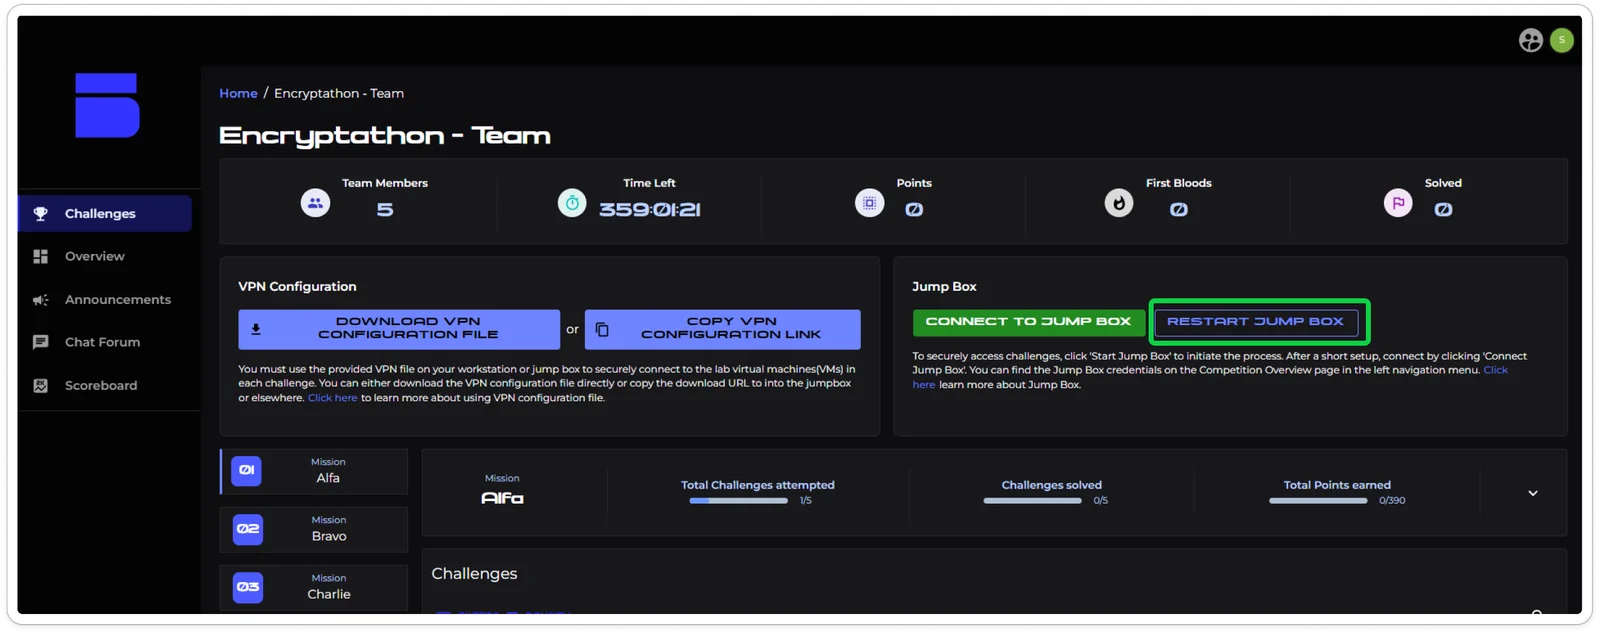
Once you have started the Jump Box, you can click "Restart Jump Box" button [2] (if you require) to restart your Jump Box access if you encounter any difficulties.
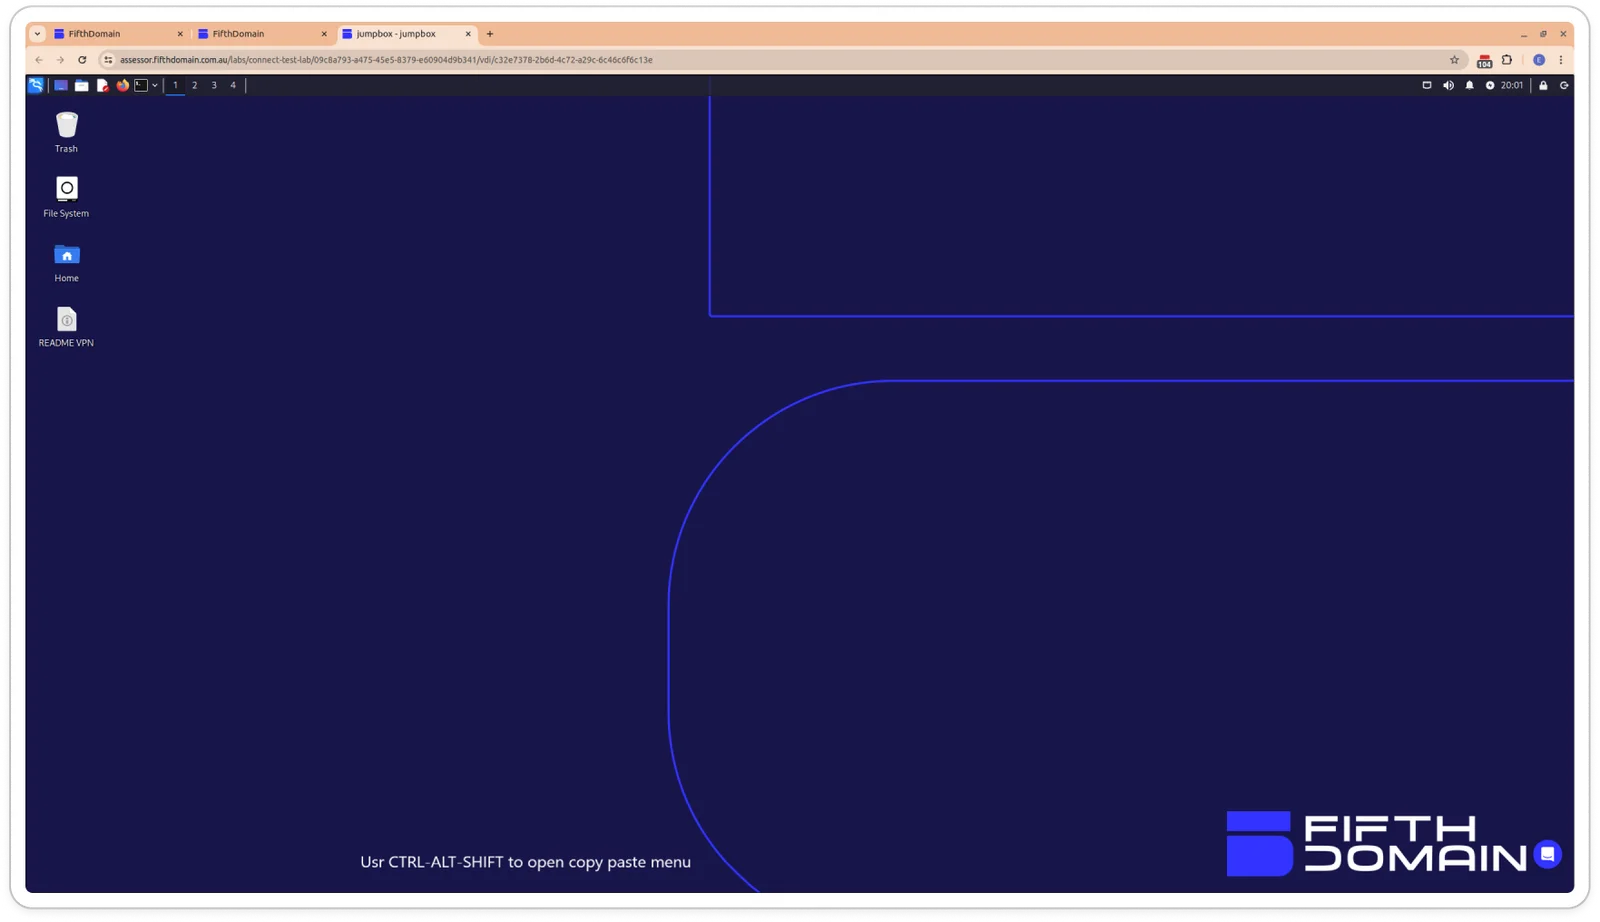
Accessing the Jump Box’s virtual machine
You can now interact with the Jump Box VM as needed to participate in the competition.
The Jump Box, based on Kali Linux, is a cybersecurity-focused Linux distribution equipped with an array of hacking and security analysis tools.
The credentials to join the VM are:
User Name: Kali
Password: Kali

Use the provided tools and resources within the Jump Box environment to tackle the challenges and tasks.
You can use CTRL+ALT+SHIFT to open copy paste menu. You can see this information on the Jump Box virtual machine’s wallpaper as well.
Connecting to the VPN from Jump Box
The Jump Box connects to the lab network using WireGuard. The configuration you download from the platform is a WireGuard config file (a .conf file). The Jump Box already has WireGuard installed, so you can connect using the import-vpn command (recommended) or manually.
Using the import-vpn command (recommended):
- Click the "Copy VPN configuration link" button on the platform.
- In the VDI console press CTRL-SHIFT-ALT to open the copy-paste menu, then paste the download URL into the textbox.
- Open a terminal and type: import-vpn "<VPN configuration link>", making sure to enclose the URL in double quotes.
- You will be asked to enter the root password; please use 'kali' as the password.
The command downloads the WireGuard configuration and automatically brings up the tunnel. The connection then stays up in the background — you do not need to keep the terminal open.
Note: Use a freshly copied link, as it expires every 15 minutes. Once the connection is established, it will persist.
Manually:
- Download the VPN configuration file:
- Click the "Copy VPN configuration link" button on the platform.
- In the VDI console press CTRL-SHIFT-ALT to open the copy-paste menu, then paste the download URL into the textbox.
- Open Firefox and paste the link into the search bar using the "Paste" button.
- Right click and save the file to the desktop, e.g. as "conf.conf".
2. Connect to the VPN:
- Open a terminal in the folder where you saved the config file (e.g. the desktop).
- Bring the tunnel up with: sudo wg-quick up ./conf.conf
- Enter the root password when asked; please use 'kali' as the password.
- Confirm the tunnel is up with: sudo wg show — you should see the interface and a recent handshake.
3. To disconnect (if you need to): sudo wg-quick down ./conf.conf
Checking your connection
Once the lab VMs are running, you can confirm the VPN is working by pinging a lab access IP from a terminal on the Jump Box. If a VM shows "Provisioning VPN access…" on the platform, its address is still being assigned — give it a moment and it will appear.